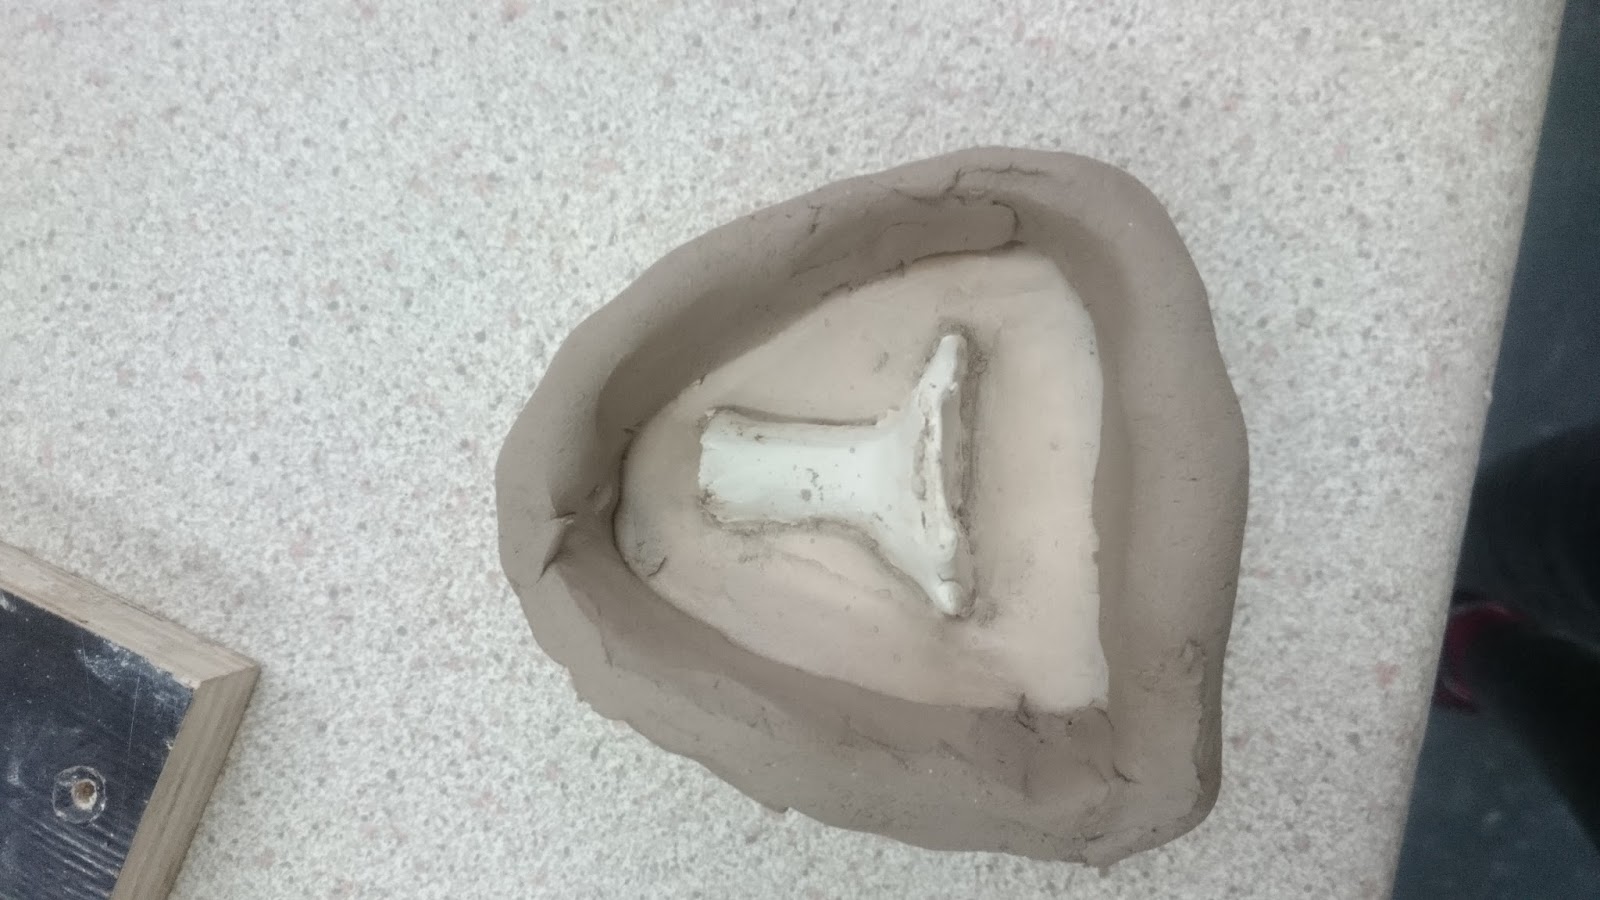
First, to make the moulds, I placed each plasticine limb of my characters half into clay and secured it around the edges so that no jesmonite can seep into the gaps around the plasticine. I also built a little wall around each limb so that the jesmonite could stay in place.


Once the clay was in place, I mixed up some Jesmonite. I have to mix one part of the liquid with two and a half parts of the powder. For example, 100g of powder is mixed with 40g of liquid to make the right consistency. I poured some of this mixture into each mould to create a thin layer covering over the limb, then I put in pieces Quadalaxial Fibreglass, which makes the Jesmonite stronger for the mould making. This is similar to hessian placed into plaster moulds. Once the fibreglass was put into the first layer of Jesmonite, I covered it all with a second layer of Jesmonite and made sure the top was level and fully covering the whole limb.


Once this half was dry, I flipped the mould over, removed the clay base and rebuilt a clay wall around the edge. I made sure I got all the clay out from around the plasticine and put a small amount of vaseline over the first half of the mould to stop the second half of Jesmonite sticking to it.
I then repeated the Jesmonite and Quadalaxial fibreglass steps and left this to dry.


I will need to drill into the jesmonite to create a space to put the armature in when casting, which I had forgotten to do. I then did a quick cast in wax to make sure all the plasticine and flakes and dust from drilling was out and the mould was clean. This also helped me to see that all the details had worked and the mould had been successful.


I will need to do a quick silicon test before putting in the armature to make sure i get the mix correct so that the silicon doesn't end up too sticky.
For the moulds for the Miller and the Millers Daughter, I made sure not to make the same mistakes that I made in the first batch of moulds. I made sure that I left a space in the mould for the armature to go through and on the feet I built in a channel for the tie down elements. This should mean that I wont need to use the drill.


No comments:
Post a Comment